


Watermarks can be seen everywhere from stock images, PDF files to videos. Now adding a watermark on a digital asset has become a way to claim ownership and protect content. A watermark could be a text, an image, a logo and overlay. With a watermark, your asset can be protected and if you have a brand, a watermark is more important to your brand safety. What’s more, watermarks are used to stop anyone except owners from altering and stealing images and visual files.
In a word, watermark is essential to content’s copyright. So how to easily add a watermark on a PDF? Read on and you will learn 6 ways to add watermarks to PDF files easily and correctly.
Add Watermarks in 6 methods
Method 1. How to Add a Watermark to PDF via ONEPDF
ONEPDF comes to help you edit PDF online in a fast way. It has a easy-to-use and intuitive interface and can be accessed from anywhere, making it ideal for remote workers or individuals on the go. In terms of watermarking PDFs, ONEPDF supports three types of watermark – Text, image and logo. You can customize the opacity, the location for placing watermarks.
Other features that ONEPDF holds are its ability to convert PDF files into different formats, from and to PDFs. ONEPDF also has a variety of editing tools, allowing users to merge & split PDFs, compress PDFs, combine PDFs and more.
Adding watermark to PDF with ONEPDF is a simple process, let’s show you how to do it.
Step 1. Go to choose Watermark PDF from the list of PDF editing tools and select the PDF that you want to put a watermark on.
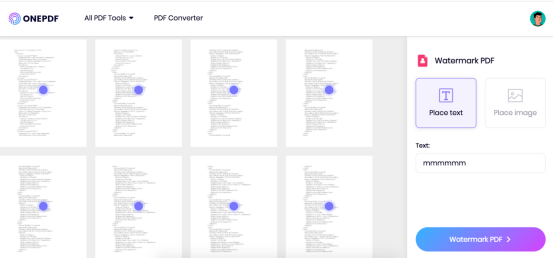
Step 2. Select a text or an image as a watermark to add all PDF pages in one click and confirm the position where to place the watermark. Next, click the Watermark PDF button.
Step 3. Wait patiently until the process is finished. And now your PDF file is also ready for downloading. Download it and save it on your device.

The whole process of adding a watermark to the PDF file using ONEPDF will only take a few minutes as you can see. ONEPDF will apply the watermark you set to all pages of a PDF file in default, so you don’t need to add watermarks one by one, which is time-wasting.
Method 2. How to Place Watermark to PDF Using iLovePDF
iLovePDF provides useful online tools and so you can import files directly from your browser for editing and organizing PDFs.
Beyond fundamental online tools, iLovePDF also allows you to sign, protect and unlock PDFs. Adding a watermark to PDF is also supported by iLovePDF. See how it works.
Step 1. Head to iLovePDF watermark tool . Select the PDF file from your device or right from Google Drive or Dropbox and upload it to iLovePDF.
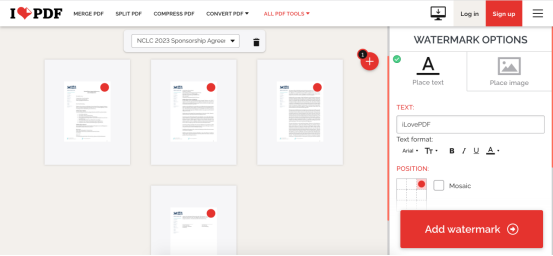
Step 2. iLovePDF provides two types of watermark, one is the text and the other is the image. After choosing watermark type, you can go on customizing watermarks, including text format, transparency of image and location to place the watermark. When all setting for a watermark, tap Add watermark to proceed.
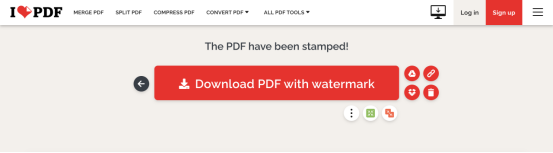
Step 3. Now you can download the PDF with a watermark to your device. If you want to share it with others, you can simply share the download link instead transferring the whole PDF file.
Method 3. How to Put Watermark on PDF Using Sejda
Sejda allows you to watermark PDF online. Sejda is an web-based platform providing PDF editing services to convert, crop, compress, organize PDFs and so on. ilovepdf also offers a range of security features, such as password protection for PDFs, unlocking PDFs and adding watermarks.
Here is the step-by-step guidance on how to add a watermark on PDF.
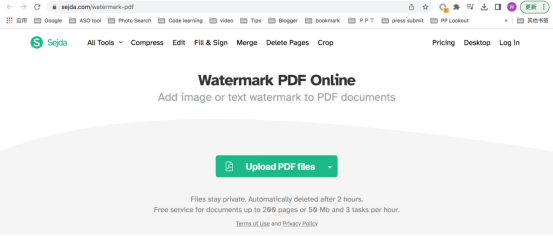
Step 1. Enter Sejad Online Watermark tool in your browser and upload the PDF you want to add watermark to from your local file or Google Drive, OneDrive, Dropbox. You can also directly copy and paste a the web address of the PDF file to import a PDF.
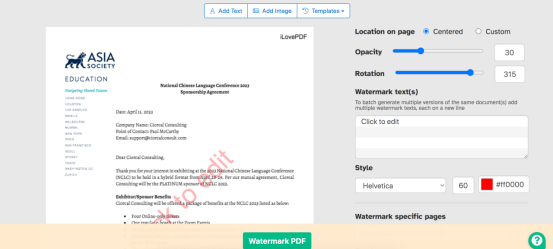
Step 2. Here you can customize the Watermark Settings. Watermarks types (text, image, template), location of a watermark (centered, custom) and page range can be customized yourself. Tap the Watermark PDF to apply the settings.
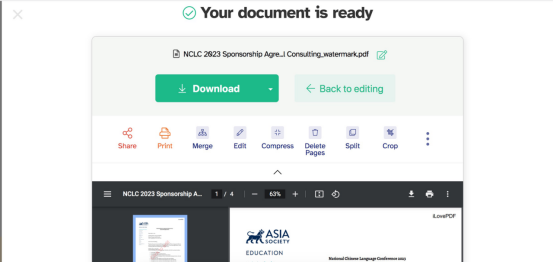
Step 3. When you PDF is ready, you can preview it and then choose whether to download it.
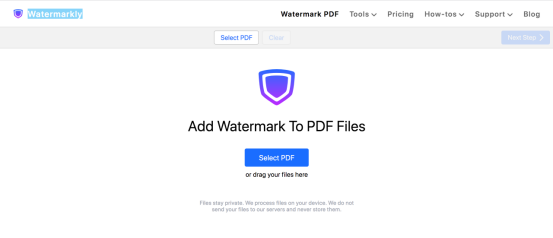
Method 4. How to Leave Watermark on PDF Using Watermarkly
Watermarkly, as its name indicates, can be used to add custom watermarks with logo or text. Other features of Watermarkly include re-sizing photos, compress images in different formats, blurring faces and more.
To add watermark to PDF files via Watermarkly, only 3 click.
Step 1. Select the PDF and import it to Watermarkly to add a watermark.
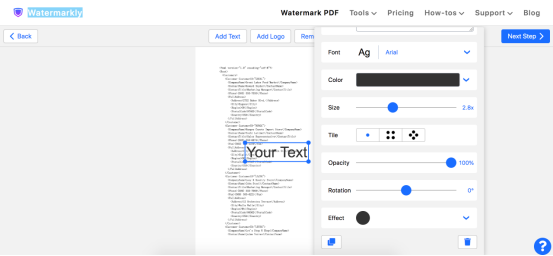
Step 2. Choose to add text or logo as watermark to the imported PDF. Under text watermark and logo watermark, you can also make some settings for watermark. Once settings are done, tap Watermark Files.
Method 5. How to Insert a Watermark to PDF with Adobe Acrobat DC
Adobe Acrobat DC is a widely used PDF editing software, aiming to help people edit PDFs in one place by combining creation, editing, reviewing, and security features.
If you have paid for Adobe Acrobat DC, it is quite easy to add a watermark on PDF via it.
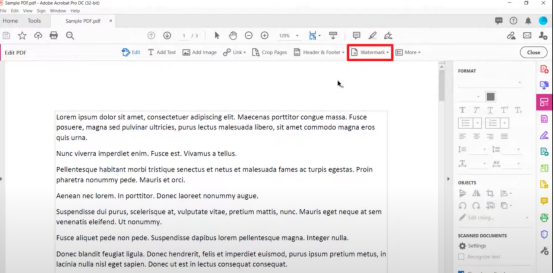
Step 1. Open the PDF document that you want to add a watermark to in Adobe Acrobat DC.
Step 2. Click on the “Tools” tab in the top menu bar, and then select “Edit PDF.” Click on the “Watermark” option in the right-hand pane.
Step 3. select the type of watermark you want to add, such as text or image.
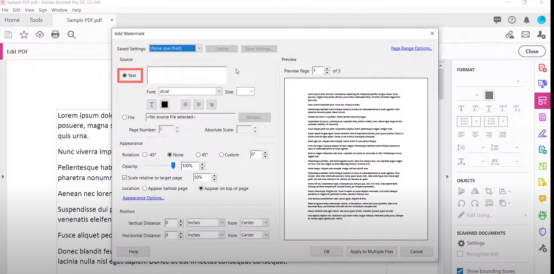
Note: If you select “Text,” enter the text you want to use as the watermark, choose the font, size, color, and position of the watermark.
If you select “Image,” choose the image file you want to use as the watermark, adjust the scale, position, and opacity of the watermark.
Step 4. Click on “OK” to apply the watermark to the PDF document. Save the PDF document with the watermark by selecting “File” > “Save.”
Method 6. How to Watermark PDF Using Foxit
Foxit is also a PDF software available on both Mac and Windows to view, edit, create, convert, and digitally sign PDF documents. It also offers a feature to add watermarks to PDF files for branding or security purposes.
Here are the steps to add a watermark to a PDF using Foxit:
Step 1. Open the PDF document you want to add a watermark to in Foxit PDF editor. And go to Organize > Watermark.
Step 2. In the “Watermark” dialog box, select the type of watermark you want to add and then adjust the text content or opacity. Once you’ve set up the watermark, click on the “OK” button.

Step 3. Save the PDF document with the watermark by selecting “File” > “Save” or “Save As.”
Conclusion
Adding watermarks is vital for protecting content or assets. Besides the reason for security, inserting a watermark on PDF or other contents is also a good way for promotion.
The six methods above, some are online tools, some are offline ones, all can help you add a watermark to PDFs based on your needs, you can choose any one of them to start adding watermarks.
FAQs
Question 1: What are the main types of watermark?
There are two main types of watermarks:
Visible Watermarks: These watermarks are meant to be seen and are typically added to a document to ensure that the document is not copied or used without permission. Such watermarks can be text or image-based.
Invisible Watermarks: These watermarks are not meant to be seen and are used for identification purposes. They are embedded in the document and can only be detected using specialized software. Invisible watermarks can be used to track the owner of the document, monitor document usage, or to verify document authenticity. These types of watermarks are usually used in sensitive documents such as legal documents, government documents, and other confidential materials.
Question 2: How to Properly Add a Watermark?
1. Choose the right type of watermark – visible or invisible – depending on the intended use of the document.
2. Use high-quality images or text – Ensure that the watermark is clear and legible, and does not obscure the content of the document.
3. Use appropriate font and size – The font and size of the watermark should be easy to read and not too distracting.
4. Choose the right position – The watermark should be placed in a position that does not interfere with the readability of the document. Usually, it is centered vertically and horizontally, or diagonally across the document.
5. Adjust the opacity – The opacity of the watermark should be set so that it is visible but not too distracting, typically between 30-50%.
Note: Before applying the watermark, it is advisable to test it by printing or viewing it on different devices to ensure that it is visible and does not affect the readability of the document.